Pre-Ride Bike Basics
For those that have been riding for years, you’ve probably developed a routine of what you do to get prepared to go riding and of course there is quite the variance between what you do for a mid week afternoon ride and what you do for an extended moto trip or race weekend. What I want to share is my absolute basics for a pre-ride check to ensure what should be a fun outing isn’t hindered by an issue that could have been addressed at the house. We can get more carried away on what to bring with you on a ride in another post, but for now lets keep it simple.
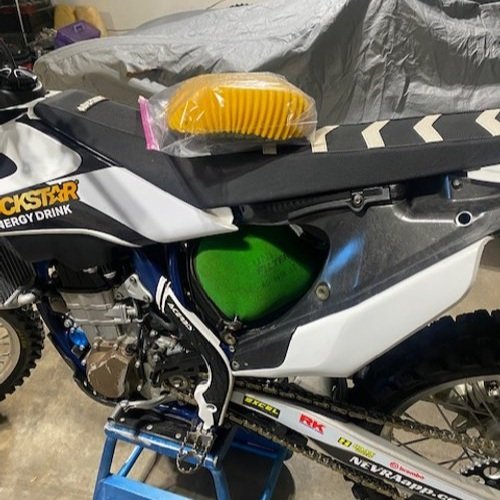
First assumption I’m going to make is that your bike is clean. This is a good time to tell you that you should be washing your bike after every ride. It should be a given that a clean bike prevents premature wear on bearings and seals, but by staying on top of this, you’re going to have a set of eyes on all your major components on a regular basis. You’ll be able to see any excessive wear from your ride that may have resulted in a chain coming out of adjustment, tire wear and any damage that might have been incurred during the last ride. This would include things like bent radiators, dented pipes, damaged fork legs that can then damage fork seals… I’ve done it all. Go ahead and check your air filter at this time too and see what you’re up against and clean it as needed. I like to keep a clean spare filter on hand as well, so you’re never in a position where you’re wanting to go ride, but the turn around time to clean your current filter doesn’t allow.
Now fast forward to Friday night and you’re headed out to the track or trail Saturday morning. Lets go through the critical checks. If you can start with your bike on a stand it will make the whole process easier to handle. We want to do a visual check of the whole bike and verify that nothing is leaking or anything has dripped below the bike, be it oil, coolant, or fuel. Check your counter shaft seal behind the front sprocket, drain bolts, weep holes and fork seals. If your bike is equipped with a carburetor, now is a good time to check that when you turn your fuel on that the float in your carburetor bowl is working correctly and nothing is over flowing.
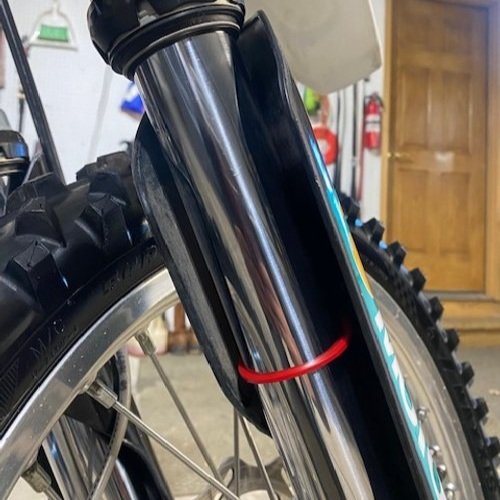
I will move my suspension travel indicators back up from the bottom of the stroke before riding. This helps me in making adjustments on the next ride.
Fluid levels are our next check. Pop off that radiator cap and see that your coolant level is at the top of the cooling fins or your manufactures spec if different. Engine/transmission oil level is also critical. Your bike is most likely equipped with a bolt on the side of the case or a sight glass. Any reason your oil level is not in the correct level should raise a red flag. If its low, is it due to a leak or is the engine possibly burning it? If your oil level rises, is it because you have fuel or coolant getting into the system? Appropriate steps will need to be taken to correct any of these issues before you decide to move forward with a ride.
Check your manual specifically, but the general recommendation is that coolant should be just above the fins. This gives the fluid a little room for expansion as the bike heats up
On dirtbikes that don’t have a sight glass, there will be a bolt on the side of your clutch cover that will most likely have a brass washer on it. You will pull this bolt out and if you tip your bike just barely to the clutch side, fluid will run out of that bolt hole.
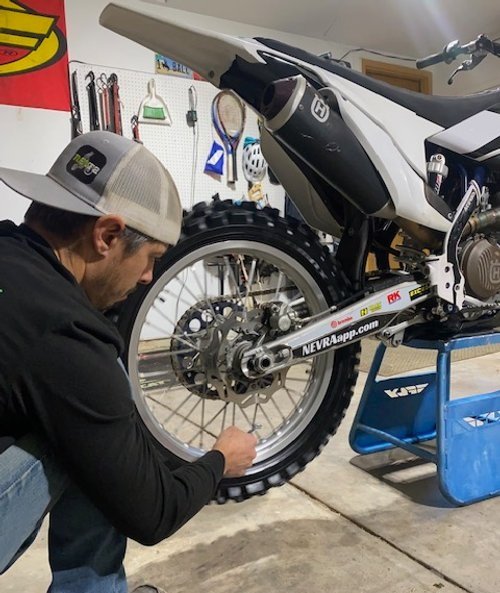
Lets move on to rotating items. We can rule out a lot of bike issues by simply spinning the wheels while the bike is on a stand. Spin that front wheel and make sure its not binding up either due to dragging brakes or bad bearings. While we’re at it a very simple way to check your spokes out is to let a screwdriver or wrench strum over the spokes as the wheel rotates. This is not a perfect check, but if you hear a change in tone from one spoke to the next, its a good indicator that they are not equally tightened and that something will need to be addressed. We’ll replicate the same on the rear wheel, but we’ve got two additional items to check on the rear. You’re going to check chain tension and wear as well as front and rear sprocket condition. While tension can be adjusted as a chain ages, you will want to make sure the slack is within your bikes spec. Chain wear can mean multiple things, but for sake a pre-check your quick indicator is going to be side to side movement. Grab your chain about half way up the swing arm and move it side to side. As long as you’ve checked this regularly you’ll know when its starting to get excessive. A worn chain can not only end your ride, it could also result in binding up between the front sprocket and case, causing thousands of dollars in damage.
Tighten any spokes that make a thud sound rather than the ting sound the majority of them are making. To tighten spokes you are threading the spoke in so the nipple will tighten towards the spoke NOT the rim.
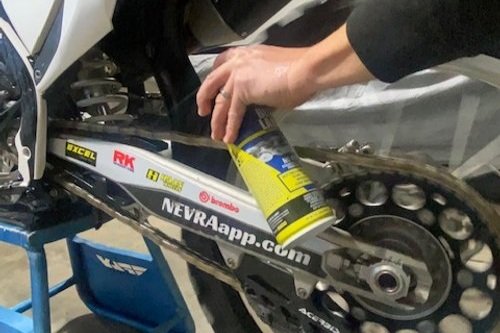
Your sprockets are next, a chain and sprocket set all wear together in the conditions you put them through, so what’s bad for one is bad for them all. Keep an eye on your sprockets and as they continue to get more and more skinny or start to take the shape of a tidal wave its going to be time to change out the drive group. Once the chain and sprockets have been verified to be in good enough condition to ride on, now is a good time to lube your chain. Again by spinning the tire while the bike is on the stand you can spray chain lube in the same area as the chain rotates past it. Do top and bottom and make sure to hit the entire length of the chain.
I will spray both the top (or outside) of the chain as well as the bottom (or inside) of the chain to make sure to get full coverage.
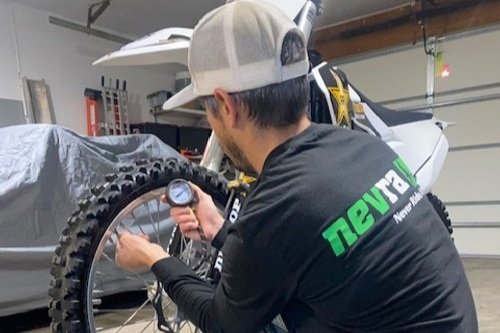
We’re not done with our rotating parts just yet. Give each wheel another spin and check each brake for operation. If you’re running tubes now is when you need to check and set your tire pressure. As crazy as it sounds I’ve met up with people multiple times to ride and they show up with a flat tire. Don’t be that guy.
Tire pressure is definitely rider preference. I’m generally running 8-10psi in the rear and 10-12psi in the front when running a tube set up.
Speaking of that guy. I’ve also found myself helping someone at the track that’s struggling to get their bike started and I ask the question, “When is the last time it ran?” If I hear any answer other than “Just before I loaded it” I question if they were raised with a proper father figure. Start your bike before you make the trip!
Now by no means is this a recipe for proper bike maintenance and there are a lot of assumptions, but too many times I come across someone at the track or on the trail that is having a mechanical issue that is a direct result of overlooking something basic. We can talk about what to carry with us for tools and parts as another subject, but starting your ride with a solid bike is more than half the battle.
Happy riding and don’t forget to fuel up on your way out. I recommend ethanol free whenever possible.

